If you have read the previous article – Why switch to ARM ? Introduction to ARM Micro Controllers – you must have had a basic idea on what makes ARM7 superior to other more commonly found 8-bit architectures. You must also have noticed the complexity of the ARM architecture. The flexible and modular design makes ARM affordable and fast – but at the same time very complex to understand for beginners. It may take weeks to just get the tool-chain up and running without the right tools to get started.
First, we go through some pre-requisite concepts of compiling programs for ARM microcontrollers in particular and all microcontrollers in general. If you have compiled programs from the command line before, you probably already know this.
Native Compiler
In computer terminology, a native compiler is a compiler that compiles source code for the same architecture on which it is running. For example, the GCC that you use to compile C programs to run on your personal computer is a native compiler and produces executables for the same architecture. For example, a native compiler will produce output binary files that will run on x86 if the compiler was running on an x86 platform.
Cross Compiler
When output binary files are supposed to run on a system that does not have the same architecture as the host running the compiler, the code is said to be cross-compiled. The device you are programming will be called the “target platform”. The system running the compiling tool is called the “host platform”. Cross compilers are sometimes difficult to set up because the compiler has no information on the active configuration of the target platform and needs to know certain parameters before it is able to compile code for the target.
A similar nomenclature is often followed for assemblers: native- and cross-assembler.
Compiling Parameters/Arguments/Variables
The variables or the arguments that a typical cross compiler takes are related to what compilation rules you want to impose on the output binary file or executable. These variables or arguments include, but are not limited to architecture type of the target system, memory information of the target system, clock frequency, output file format, and code optimization preferences.
Linking and Further Steps
Compiling programs for a microcontroller goes way beyond just running the compiler. Luckily, most of this is automated and you do not need to dive into the finer aspects for compiling basic applications. However it is mentioned for the sake of completeness – the compilers convert programs to assembly files that are in turn converted to object files. These are then combined by a linker script in a way that suits the target platform. Later articles will cover this in detail when you have compiled some basic programs and are comfortable with compilers.
If all this seems confusing at this point, you may simply follow steps for compiling programs for the LPC214x. Things will be clearer as you progress further.
Setting up the Development Environment
This tutorial will take you through the process of setting up Keil uVision5 and MDK ARM toolchain. It is available for trial only and has code size limitations on the trial version. However, it is the best option for beginners as the toolchain is easy to setup and customize. A GNU toolchain will be free and without limits but it is a tedious task just to install the toolchain. It will be covered in detail in upcoming tutorials once you get used to cross compiling.
The installation process are illustrated with screenshots from a Windows 10 (x64) machine.
Step 1: Download the MDK ARM Toolchain
Download link: http://www.keil.com/arm/mdk.asp
Follow the above link to find the latest version of the MDK ARM toolchain. Scroll down the webpage and download the Lite version (evaluation). To illustrate the steps in this article, I am using v.5.15 of the toolchain. It should not be a concern as the operation and interface is pretty much the same for all recent versions.
Download the installer and agree to the terms. In the following window, leave the default directory settings untouched:
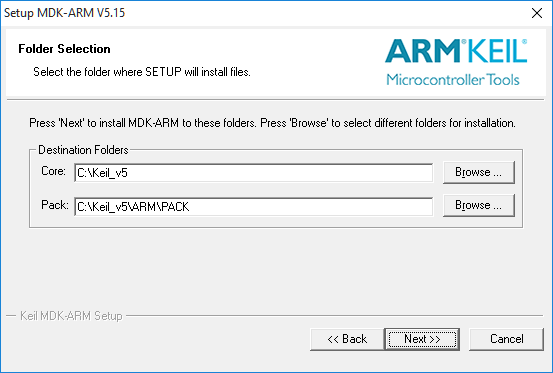
Note: If you modify the installation directory location, the toolchain may not work and you will have to reconfigure it later.
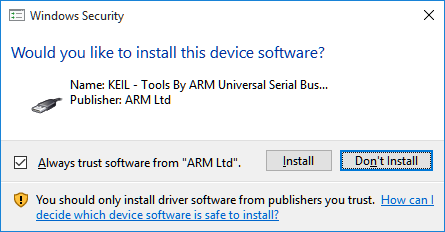
When prompted for installing any drivers during installation process, click “Install”. Check “Always trust …” to prevent any more warning windows.
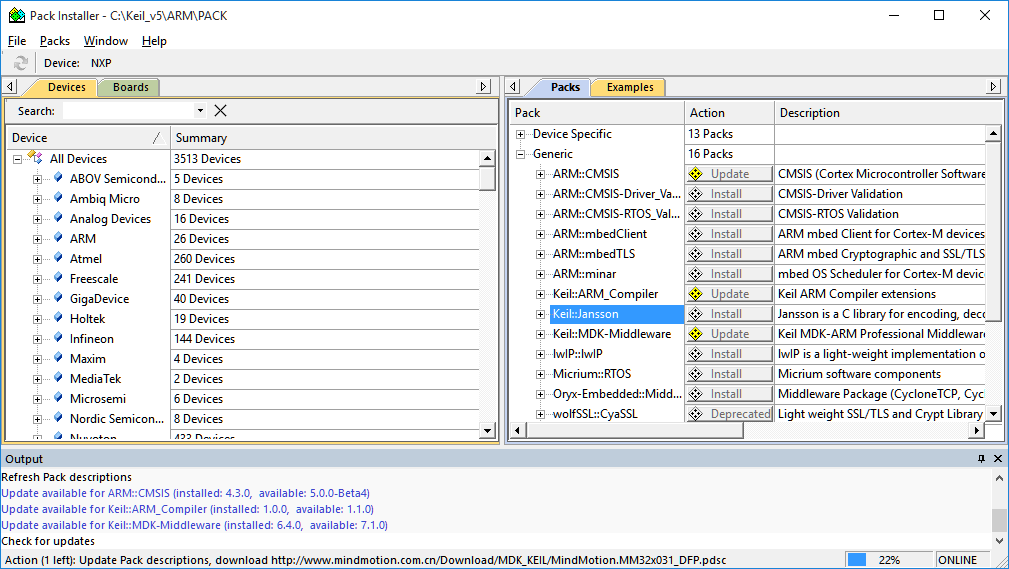
On finishing installation, hit finish. You should now see the Pack Installer.
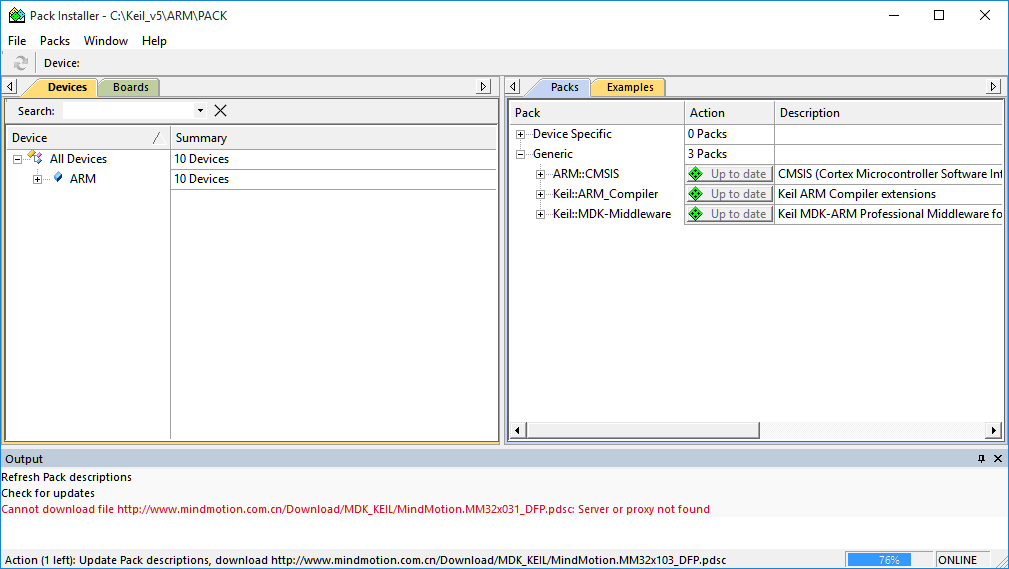
Click on the update button just below the File menu to update the packs. This will update the software to the latest version and also fetch device libraries. After a successful update, you should see many devices under the “Devices” column.
Step 2: Download the LPC214x Device Support Package
Download location: http://www2.keil.com/mdk5/legacy
The default packages included with the MDK ARM 5 contain support for the latest ARM devices only (mainly ARM-cortex series). As the LPC214x is not a new device, you need to download the legacy device support package from the link above.
Visit the page and download the support package for “ARM7, ARM9 and cortex-R” as LPC214x is an ARM7 microcontroller. Launch the installer.
Leave the default path untouched again and continue installation.
Step 3: Verify Installation
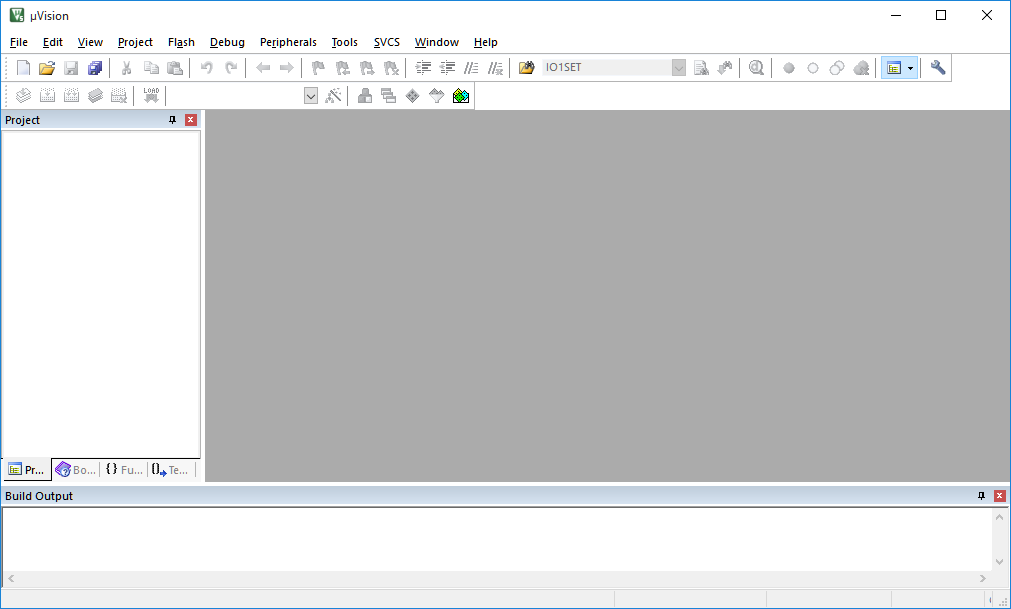
Now that the installation process is complete, you should verify the installation. Open uVision 5 from the desktop shortcut or from start menu. You should see an empty project like this:
Now go to Project menu and create a new project. A dialogue should pop up asking for device specification. Select Legacy Device Database from the drop down menu and type “LPC214” in the search box. You should now see LPC2141/2/4/6/8 listed. Select LPC2148 and continue.

If you are asked to add startup.s to the project, you should add it (click Yes).
Next, from the menu, go to Help > About uVision and you should see something like this if everything is properly installed:
With all this done, you are now all set to start compiling programs for the ARM7 LPC214x microcontroller!
Keep following this series of articles for the next one on understanding how programming the ARM7 is different from programming an AVR or 8051 microcontroller.
Comments are closed.